DIY Hydroponic Window Garden: Step-by-Step Guide
Key Takeaways
- Learn how to create a beautiful hydroponic garden indoors.
- Step-by-step instructions for setting up a window garden.
- Tips on selecting plants and maintaining your hydroponic system.
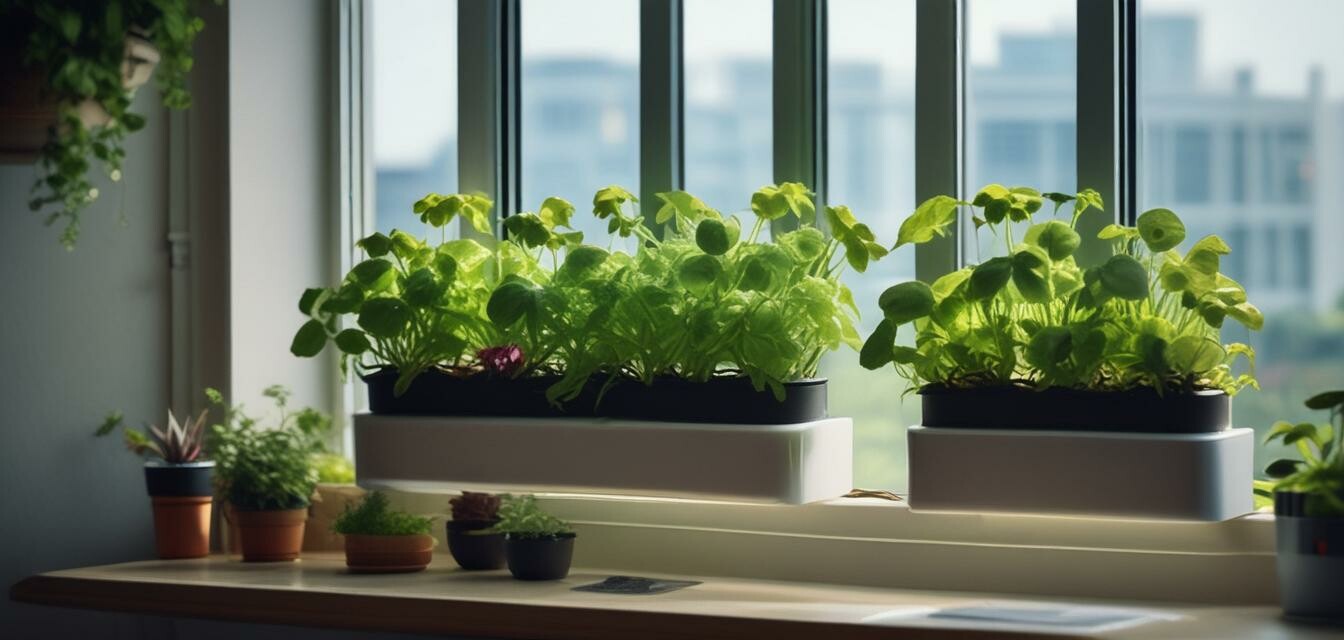
Creating a hydroponic window garden is an excellent way to grow fresh herbs and vegetables indoors, all while adding a touch of greenery to your home. This guide will walk you through each step of the process, from choosing the right location to selecting plants that thrive in hydroponic conditions.
Why Choose Hydroponic Gardening?
Hydroponic gardening allows you to cultivate plants without soil, using a nutrient-rich water solution instead. This method is not only space-efficient but also environmentally friendly, making it perfect for urban dwellers or those with limited outdoor space.
Choosing the Right Location
The first step in setting up your DIY hydroponic window garden is selecting the ideal location. Here’s what to consider:
- **Sunlight**: Choose a location that receives at least 6-8 hours of sunlight each day.
- **Accessibility**: Make sure the garden is easily accessible for watering and maintenance.
- **Temperature**: Keep in mind that most plants thrive in temperatures between 65°F and 75°F.
Materials You Will Need
Gather the following materials to build your hydroponic garden:
| Material | Purpose |
|---|---|
| Plastic containers or PVC pipes | For holding plants and nutrient solution |
| A growing medium (e.g., rockwool, coconut coir) | To support plant roots |
| Nutrient solution | To feed your plants |
| Water pump (optional) | To circulate the nutrient solution |
| Grow lights (if sunlight is limited) | To supplement sunlight for optimal growth |
Step-by-Step Instructions
Step 1: Choose Your Container
Select a container or set of containers that will hold your plants and nutrient solution effectively. You can use anything from small plastic containers to larger PVC pipes.
Step 2: Prepare the Growing Medium
Your chosen growing medium will provide support for plant roots. Cut pieces of rockwool or prepare coconut coir to fit your containers.
Step 3: Assemble the Hydroponic System
If you're using a passive system, fill your container with growing medium and leave it open for water absorption. For an active system, connect the water pump and set up your nutrient delivery system accordingly.
Step 4: Add Nutrient Solution
Mix the nutrient solution according to the manufacturer's instructions and fill your containers, ensuring that the growing medium is adequately saturated.
Step 5: Planting
Now it's time to plant! Gently place your seedlings or seeds into the growing medium, ensuring they are well-supported.
Step 6: Monitor and Maintain
Keep an eye on your plants, checking the nutrient levels regularly. Adjust the solution as needed, and ensure your plants receive sufficient light daily.
Best Plants for Hydroponic Window Gardens
Some plants thrive better in hydroponic systems than others. Here’s a list of ideal plants:
- **Herbs**: Basil, mint, cilantro, and parsley
- **Tiny Vegetables**: Lettuce, spinach, and kale
- **Fruits**: Strawberries and small peppers
Tips for Success
Beginner tips
- Start small with easy-to-grow plants like herbs.
- Keep a gardening journal to track your plant growth and nutrient adjustments.
- Experiment with different setups and find what works best for you.
Conclusion
Your DIY hydroponic window garden can be a rewarding project, providing you with fresh herbs and vegetables right from your home. Follow the steps outlined in this guide, and don’t hesitate to explore more about different hydroponic systems. For more tips and guides on hydroponic gardening, check out our buying guides, or dive into our DIY projects for even more creative ideas.
Pros
- Efficient use of space.
- Year-round growing potential.
- Less water is required compared to traditional gardening.
Cons
- Initial setup costs can be higher.
- Requires consistent monitoring and maintenance.
- Learning curve for beginners.
Further Exploration
If you're interested in expanding your hydroponic knowledge, consider learning more about essential supplies. Explore our pages on grow lights or nutrient solutions to get started.